
DIY Writing Desk
Working from home is a dream of mine because it represents the fact that I am doing what I love. Writing. Sharing. Creating an important space for this is crucial for success. Not only to set standards of disciple & consistency, but to help take myself seriously. Here is an exact step by step guide as to how we created this cozy working corner with this diy writing desk.

Disclosure : This post may contain affiliate links, meaning I make a commission if you decide to make a purchase through my links at no cost to you.
In this post you will happily find…
Our plans that went wrong
How to use the resources you have on hand
Supplies, Measurements & Tools we used
Step by step explanation of the process
an Illustrated step by step explanation of the process
Pictures of our lovely desk through out
A video guide will be posted on my Instagram as well! @ourblueabode
Switching To The Back Up Plan Even If We Didn’t Have One
My original plan for this table as to follow a set of instructions found online, go the unfinished wood route & keep it simple. I knew I wanted to use these petite stair spindles as the table legs because I used to buy them to make candle sticks! I love the quaint elegance their design offers & the skinny legs create a more antique look.
Unfortunately, my plans for it to be unfinished wood was not an option. This Home Depot did not have them, only pre primed. Therefore, our entire route of natural wood switched to a primed/white look with planned potential to paint it later if desired.
I like to go the more imperfect route as usually seen on my page. The pieces we chose may not have been clear of scuffs & a dent here or there may be visible. I want to make this clear as you may see these imperfections & think we didn’t mean for this. I may even add further “damage” later on with some more bumps & bruises.

Use the Resources Available to You
Since moving to Florida, we have been Home Depot people. Normally Menards is our Friday night pit stop, but there are no Menards around these parts. Therefore, Home Depot it is! This works to our advantage living in an apartment that they can cut the wood down for you.
For this project we ran to my parents work shop, however, if a saw is keeping you from doing home projects, know that Home Depot can save your day. Other tools necessary, I would say a drill is usually in order. We may use other tools here & there to make it easier, look more finished, or for different reasons, but I would saw that there us usually an alternative way to diy something that allows you to use the resources at hand for you.
Never let a lack of resources keep you from being creative. Either cough up the cash, reach out for rentals or borrows, switch gears & go a different route, or duct tape!
Here is EXACTLY How we Made this faux Antique Writing Desk
We started this project with a set plan & that all went out the automatic sliding doors of Home Depot almost immediately. So here it is broken down as simple as possible. From measurements to a simplified step by step guide - I hope that if you are looking to recreate our exact desk, then here you go!
SUPPLIES & MEASURMENTS—
(4) Stair Spindles - Cut them down to 29 1/2”
(3) 4x1 8’ Boards - Here is the cut break down :
1 board cut (2) 10” pieces off & then cut the remaining part in half ~38” THIS IS FOR BASE
2 boards cut (4) 43 5/8” pieces THIS IS FOR TOP
(16) 1 1/4” pocket hole screws - we got a box of 100
Wood Glue - Make sure it is non-foaming
Finishing Nails
Altogether we spent about $66!
TOOLS —
Nail Gun
Saw
Below you will find an illustrated step by step draw of this project. There will also be an IGTV posted on my Instagram! @OurBlueAbode
TABLE BASE —
We started by cutting down all the pieces as stated above.
Next, use the pocket hole drill & jig to put (4) holes at the end of the boards on both sides. Giving each of the 10” boards and 38” boards a total of (4) pocket holes.
Attach the spindles (table legs) to the ends of the 10” pieces first. This will give you (2) almost looking chair backs. Glue the end of the wood & then screw in for double security.
Glue the ends of the 38” boards & screw those into the “chair backs”. This should finish the table base.
TIP : We wanted the wood to sit more in the middle of the spindles. We used a 1/4” plywood to set the wood on to lift it up evenly by the soon to be table legs.


TABLE TOP —
Use the wood glue to add a thin layer around the entire top ridge of the table base right where the (4) 43 5/8” pieces will lay.
Once glued, place the first board on the end, using a measuring tape to let it over hang 3/4” from the front & 1 1/2” on the sides. This will allow all the boards to sit on the base evenly.
Use the finish nailer to secure the top slats even more with 2 nails on each side above wither it meets the table base.
Continue this with the remaining (3) boards on top.
All done! We left it primed, but you can stain, paint, do whatever you want depending on the wood/plans you have!

Now It is Your Turn!
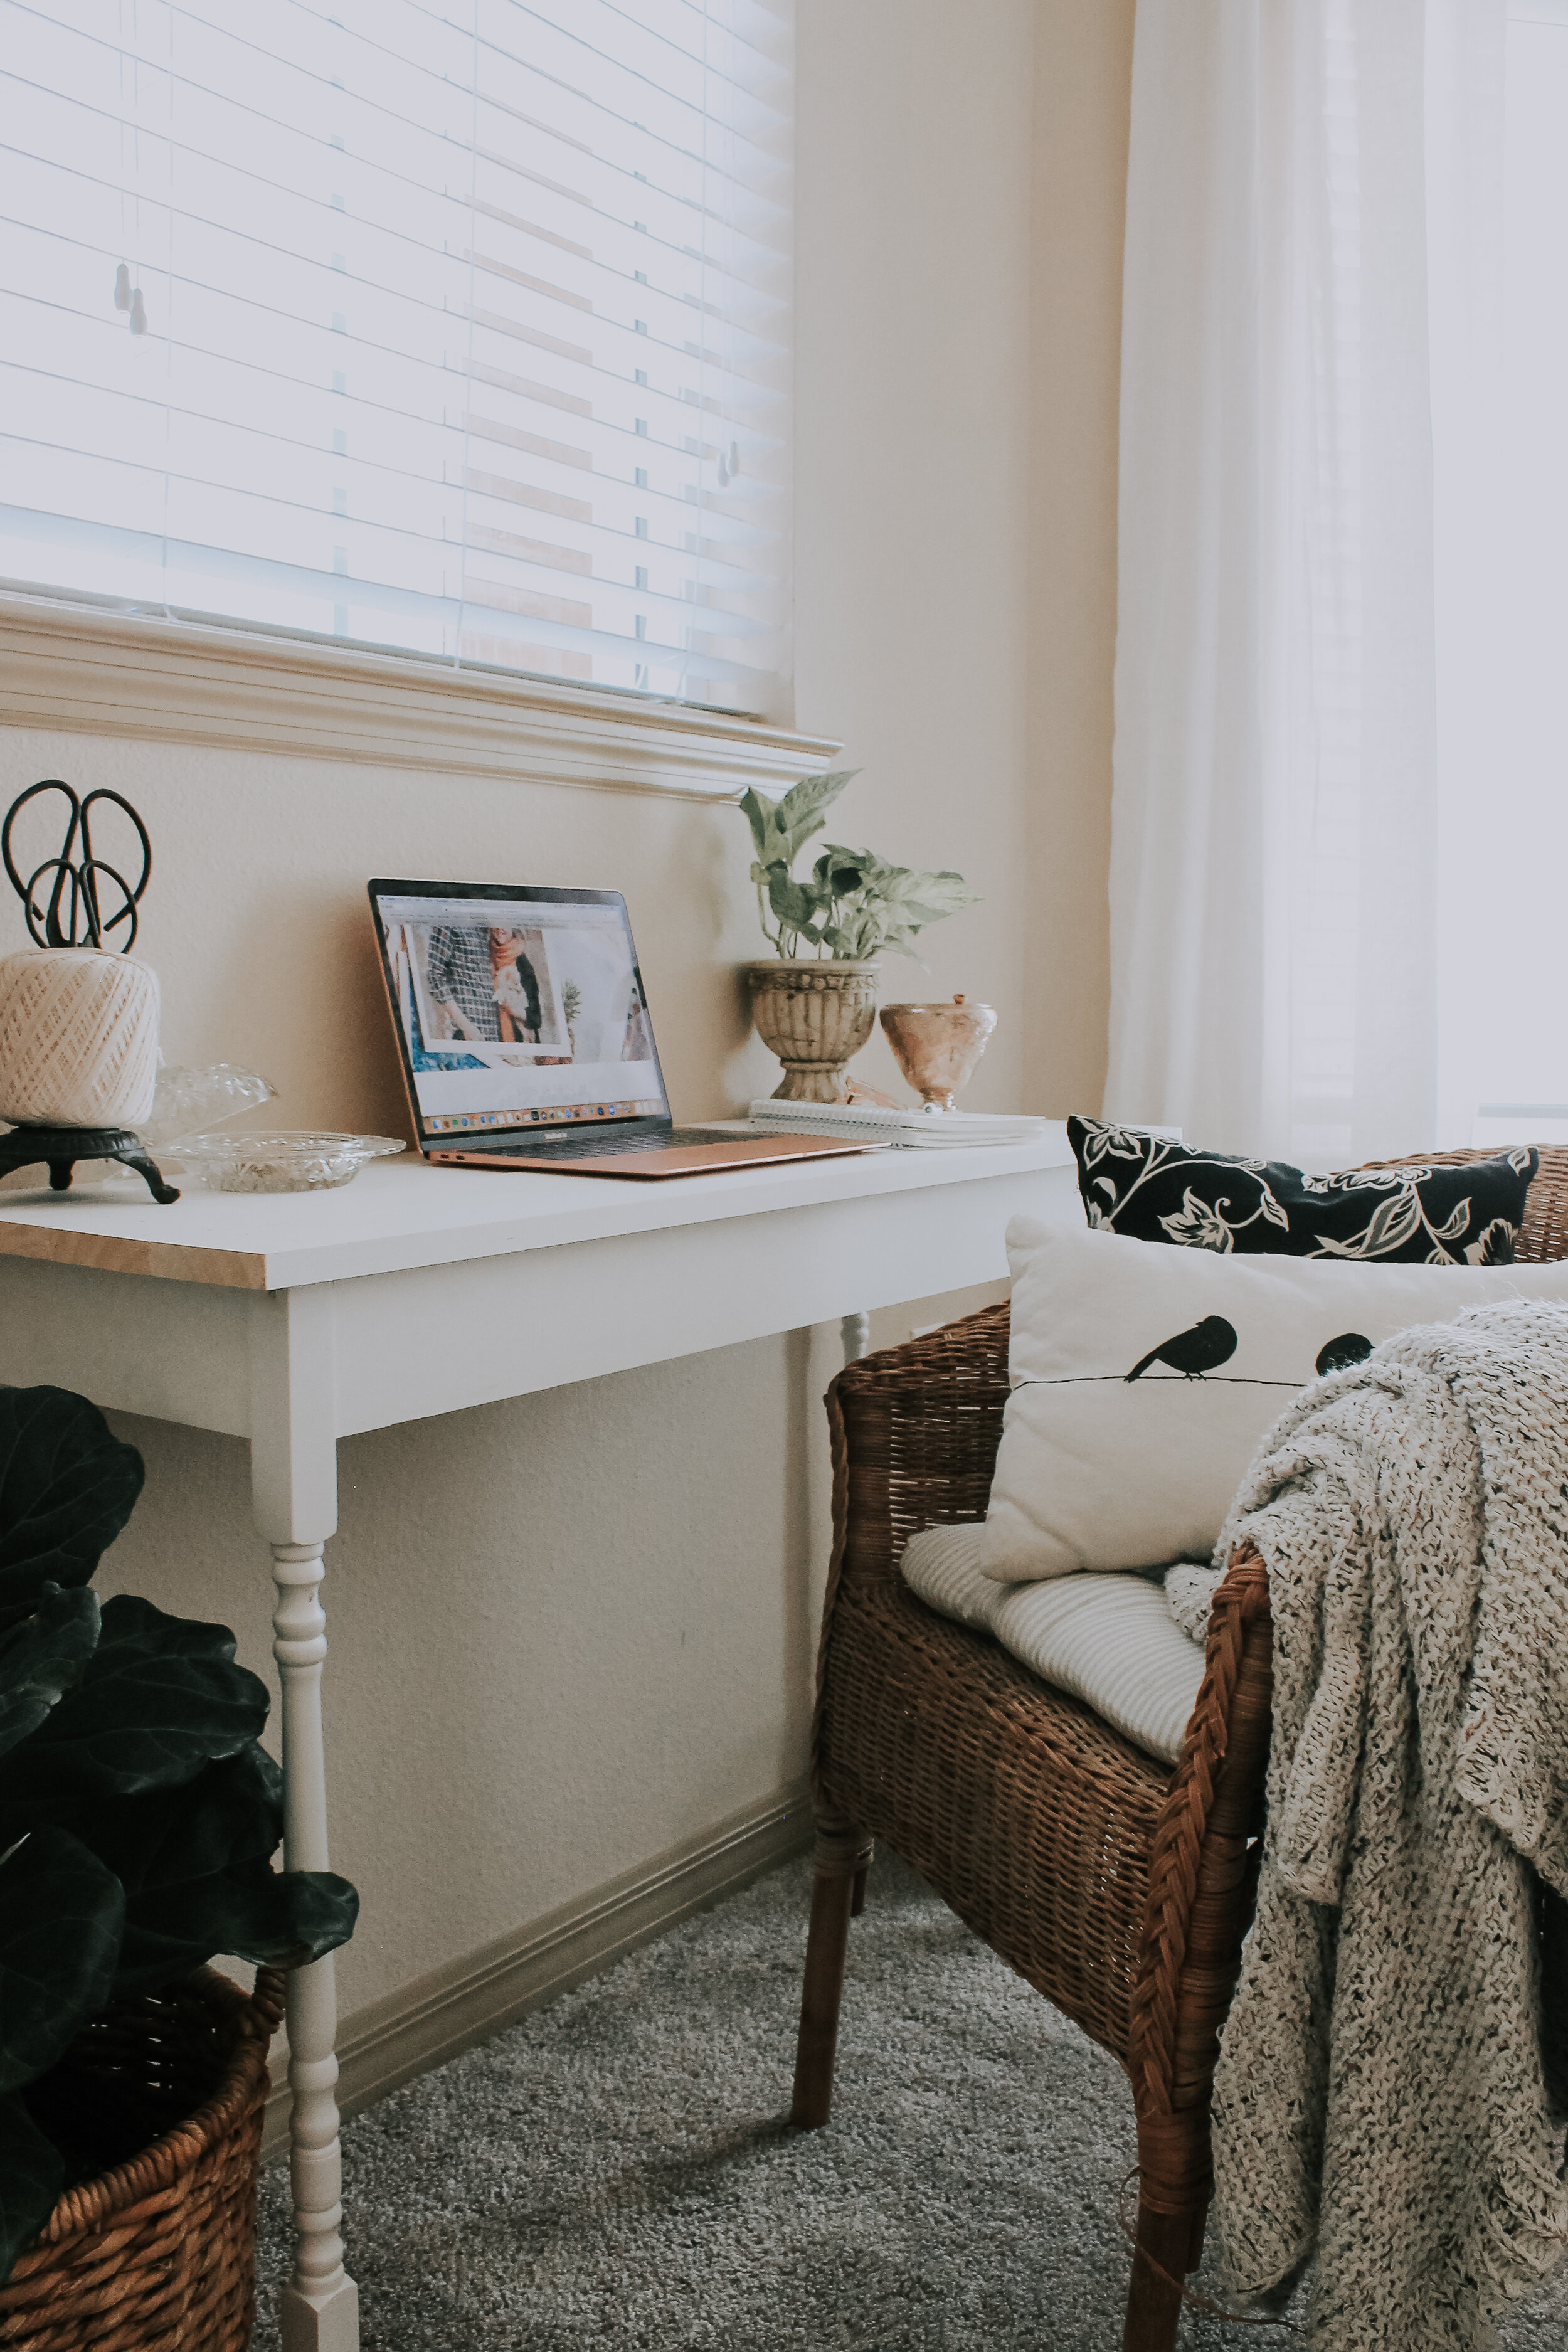
There you go! I hope this helps & that you are able to make the perfect writing desk of your dreams. This sweet addition fits perfectly in our space, offers the support I need as a working from home wife, & gives us opportunities to make it match any space with a little paint.
I would love to see your writing desk inspirations. Check out our Instagram to see how we use it, stage it & more home projects we have!
Here is an illustrated step by step way we made the desk to show you in picture form. I am a visual learner, so this is a must for me!


