
Sure Fire Cozy Enhancer
That is right, friends! We impulse added a fireplace to our living room! Since we bought the house we knew we wanted to add one. We just didn’t really know when, how, what kind, or anything in between. Some problems we needed to work around : had to be on an interior wall, our house is over 113 years old & old things are scary, it had to be safe & cost effective. Is adding a fireplace something you have wanted to do? Do you have similar problems to deal with? Well you are in luck! Here is how we made our living room more modern & more cozy for roughly $600.

The idea was always to do a vent less gas insert. This way, we wouldn’t need to vent outside, but still get the real flame & feel. Then we hit the polar vortex of 2019. We sat in our lacked insulated old house being pelted by cold drafts. That is when we hoped on Amazon & ordered a 33” electric fireplace insert. Am I upset? Not in the slightest. I have been struggling finding the feel I want for this home. The thing about loving home decor is that you love it all. I love the cozy farmhouse, I love the minimalist modern, I love the boho Texan feel. Naturally our old home has a touch of farmhouse which makes me want to play the field a bit. Choosing an electric insert makes that happen.
First, let me give credit where credit is due. Brooke from Nesting With Grace first added this to their small living space. I was so easy to jump on her blog & find the link to the one they used. I hesitated choosing an electric insert because I didn’t want it to seem tacky, for a lack of a better word. Being able to watch their journey & see the unit in their space gave me comfort that this is a quality piece. Here is a link to it!
Now that the backstory has been set, I am realizing I am not crazy about writing up tutorials. It is kind of like recipe posts. People write & fill their page with words that are beautiful & stories about how it was their grandma’s recipe. You scroll for days until finally at the end, you find the amount of Tbs. of paprika needed. The only thing you needed to know. Now, don’t get me wrong, I love those stories, but when I am in a pinch, all I need to know is the paprika quantity! That is how I feel about DIY’s. I don’t think I want to fill a page with explanations of how we did each step, but I do want this to be something you can follow so you too can add cozy ambiance to your home! So here goes nothing, our impulse, 2 day, $600 fireplace addition.


Frame up your fireplace! We chose to have the box lifted off the ground about 6 inches. You can have it on the ground, higher up, or add a hearth! We chose to just raise it for heat to be more level to where we sit & to give it a more modern appearance. The hole for the insert fits the inside dimensions which are clearly labeled on Amazon or I am sure whatever box you get! We chose to have ours a width of 5 feet which would leave several inches on each side of the box to show the shiplap.
Once framed up, Luke reinforced where the box would sit on the bottom to make it safe & sturdy. Once that was done & he added wood to where the TV would be mounted, we shiplapped away! We used the regular 1 x 8 boards from Menards. Planning on adding trim around the edges, Luke was able to go quickly with the cuts & not worry about cutting 45’s.
Luke used a nail gun for all of the trim & shiplap. We went through about 9 8’ boards. The trim around is primed MDF. The top & bottom are 1 x 4, the front sides are 1 x 3, & the edges on the sides are 1 x 2.
As for electric, Luke added an outlet inside the box to plug the unit in & hide the cord. In addition, he ran an outlet up for the TV when mounted.
After the shiplap & trim was complete, Luke started on the mantle. He used some scrap wood to drum up some corbel type brackets. Nothing fancy as it would be covered. He screwed those in & then built the mantle from there. We used a 1 x 8 for the top & bottom & a 1 x 6 for the sides & face. We built it so the face capped the box for a clean finish. It was up in a heart beat, stained & drying for the varnish!
I cannot tell you all how simple this project ended up being. A last minute decision to run to Menards for supplies & 1 full day of work, this thing was up! The insert was $335, the materials at Menards roughly $220 for framing, shiplap & electrical needs, & the TV mount was under $60 from Amazon, linked here.
I recommend hiring a professional to do necessary structural additions & electrical needs to your home always! As a trade wife & realtor, I know the value of a license. Always be safe in making your home your own!
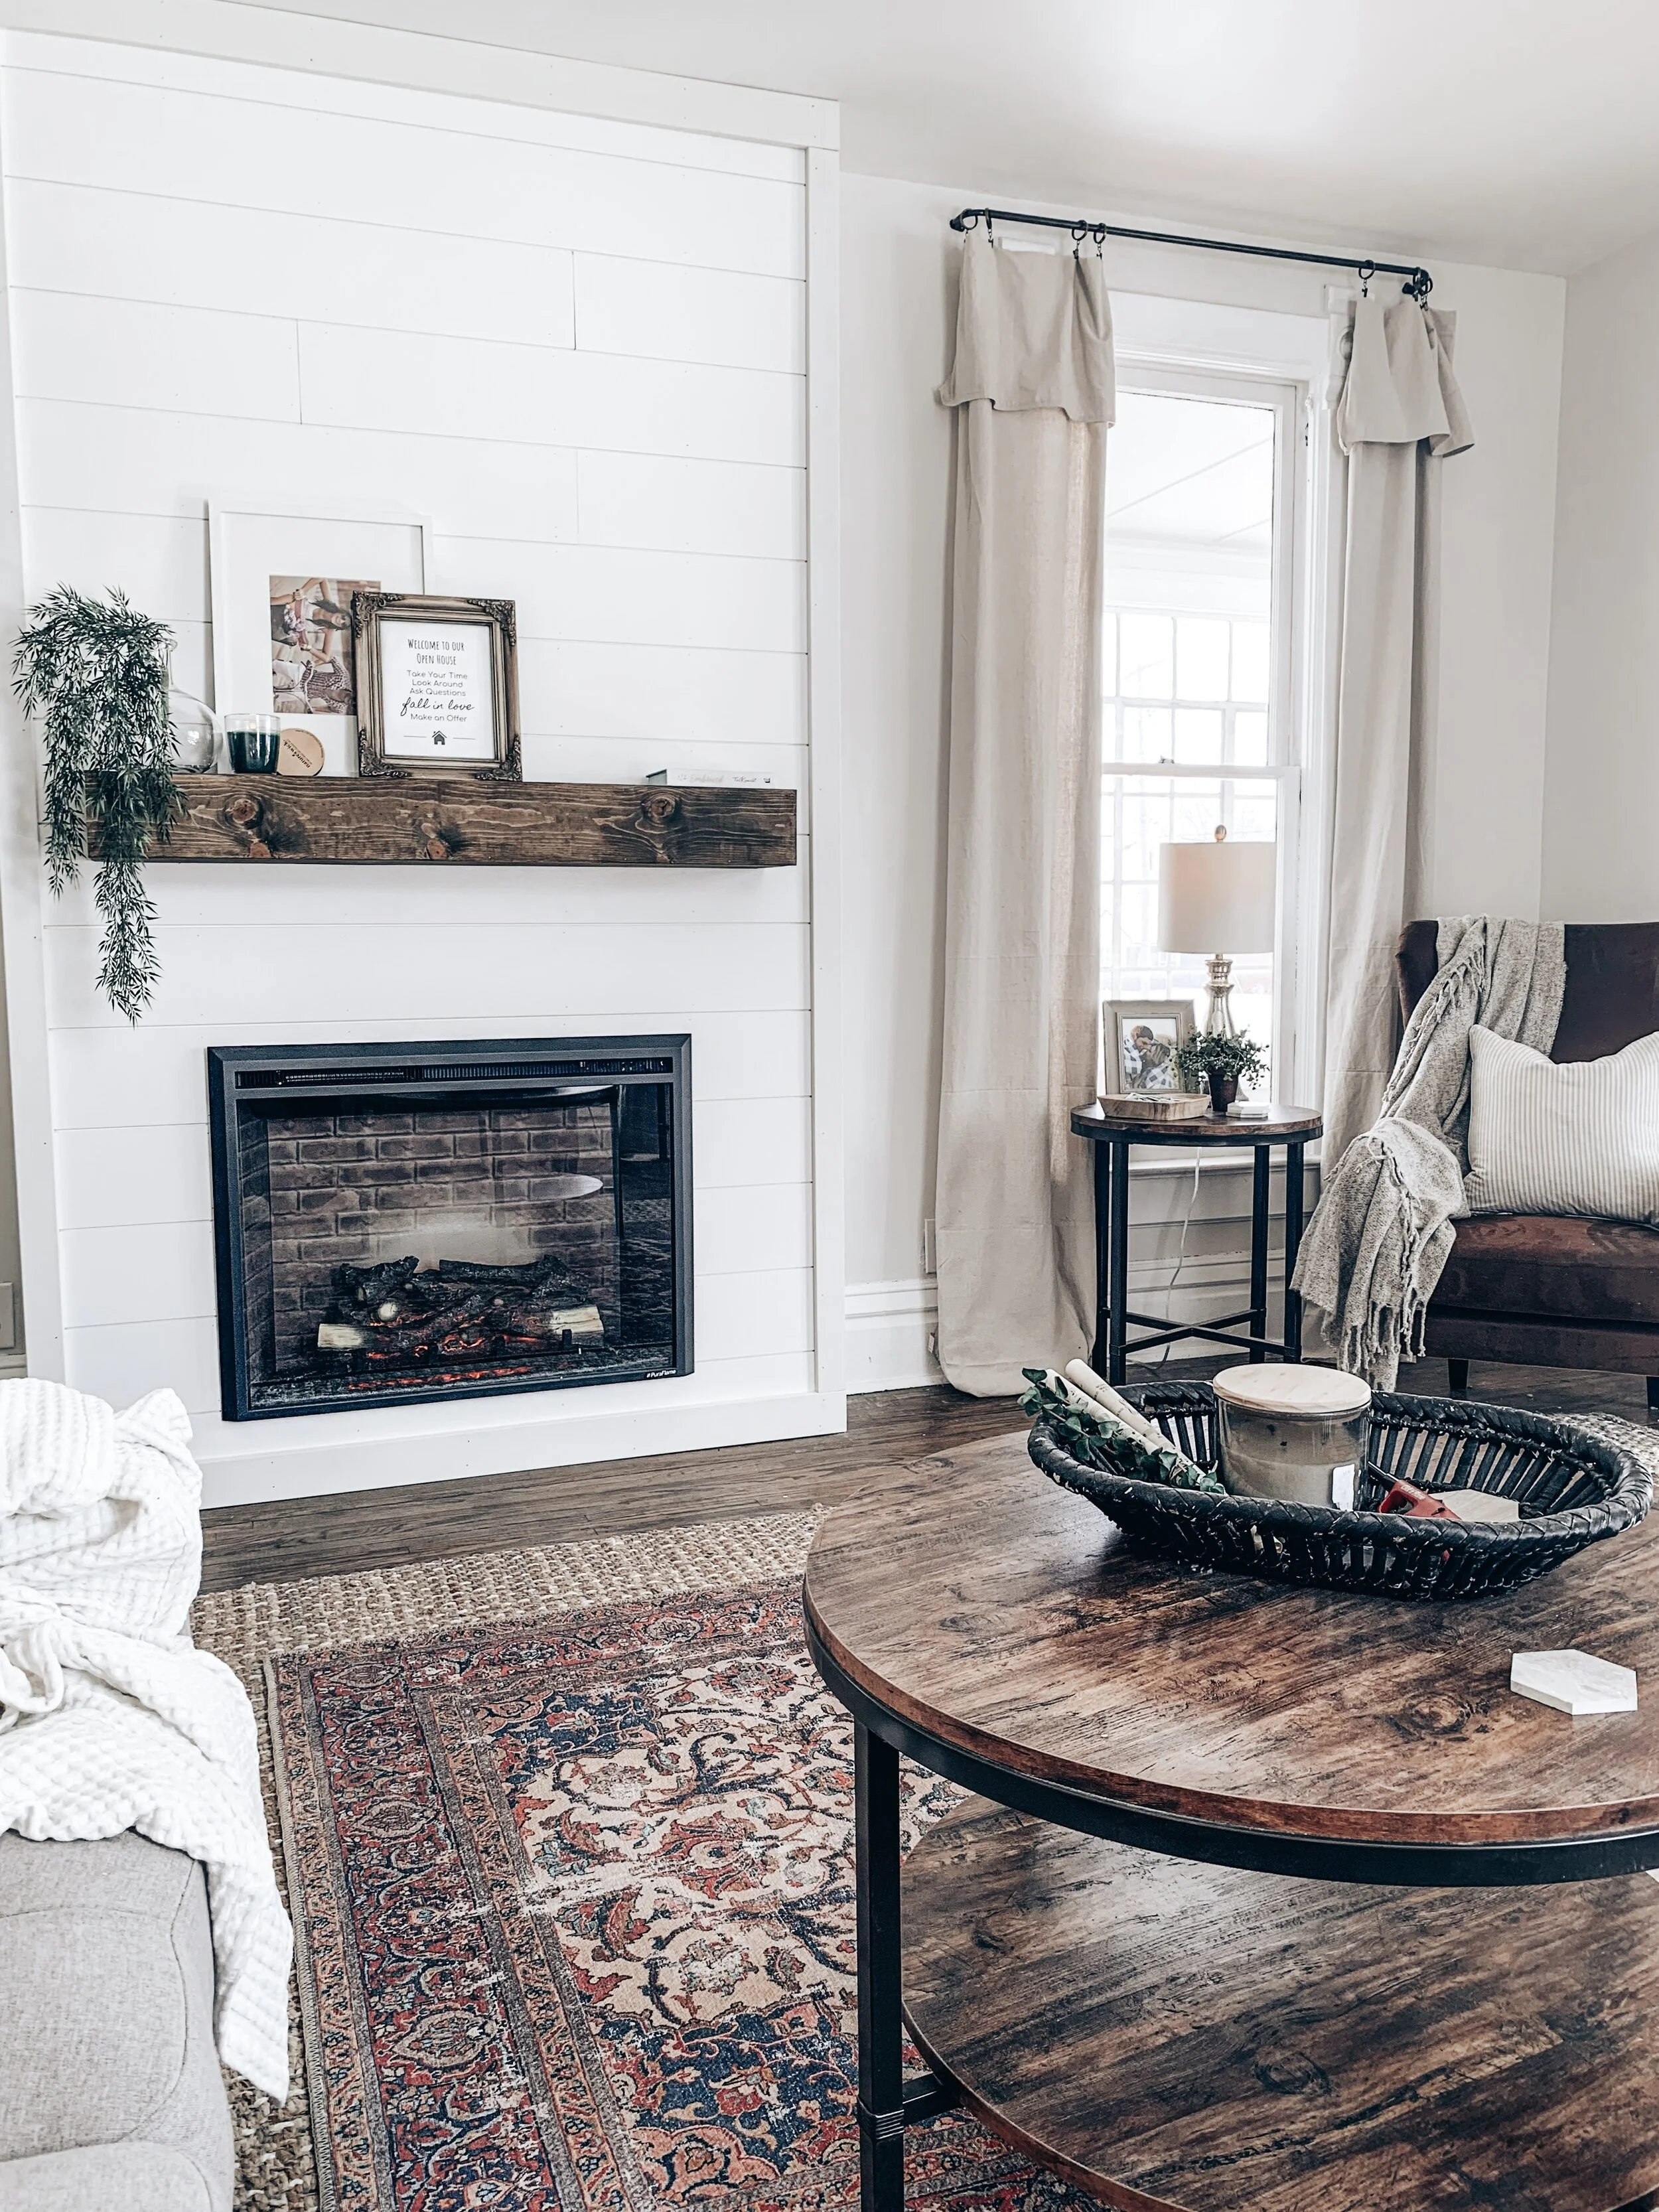
That’s it! So simple & look at the difference it makes. Wow! Choosing to mount the TV above the mantle was hard. I see all the gorgeous displays that I would love to do, but the size of our house & layout of the living room, I couldn’t justify not using the space the best way we can. Plus, not I will probably spend less money on decorations for it. I just needed enough room for stocking holders! I love it & cannot wait to live in the house with this fire roaring. Some perks of going with electric : you can have the ambiance all summer long & you can do it all from a simple click of the remote. So. Simple.
If you chose to do anything like this in your home, let me know! I would love to follow your journey!
Important Links : Fireplace Insert